Veneering of wooden surfaces
The history of facing veneers has been taking root since the days of Ancient Egypt. About the planed veneer is remembered in the 18th century, for the first time it is produced by Americans on the machine. The width of this veneer was no more than 1.5 m. In 1850, the production of veneer is being established in France, this is being done by Samson Valet and Gardon. In 1901 in Italy, the Cremona family mastered the production of veneer on the first horizontal planer. Since then, artisans could make lighter and more expensive furniture, while saving on wood in the production of furniture products.
In the modern world, veneer is a popular material in the furniture industry, demonstrating excellent characteristics and being an effective way of recycling wood. Veneer is called a thin layer of wood, a thickness of up to half a millimeter.
Veneering is the gluing of veneer on the substrate — fiberboard or chipboard. The main advantage of such material as veneer is the opportunity for the joiner to use a wide range of wood species in furniture production. Some types of wood are the most prone to corrosion, but thanks to veneer, you can extend the life of the plant and keep their appearance for a long time. Facing veneer often solves a problem such as deformation of wood. Therefore, modern furniture production uses such reliable, useful and relatively inexpensive material as veneer.
Euroshpon-Trade, offers planed veneer of various types of wood at the best prices. Delivery of veneer in Ukraine and the countries of the near abroad — Bellorussia, Moldova, Romania, Poland, Georgia, Armenia and others.
Veneering with veneers
Some equipment is required for this type of work:
- Steel ruler
- Ball point pen
- Hammer
- Cyclais
- Cutter knife
- G-shaped clamps
- The milling cutter
Facing veneer panel with fringing
Veneering steps of veneer panel with fringing:
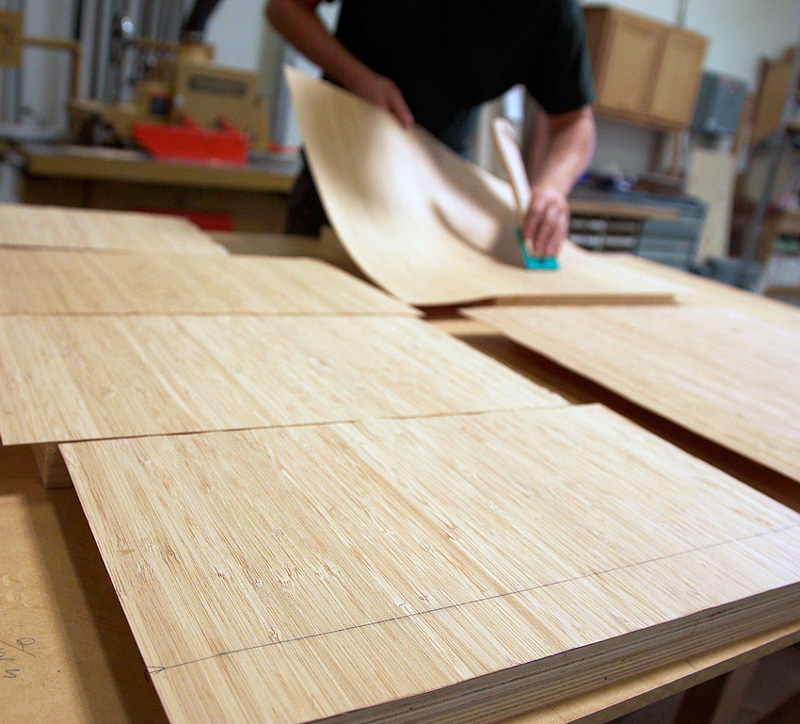
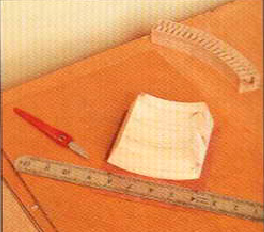
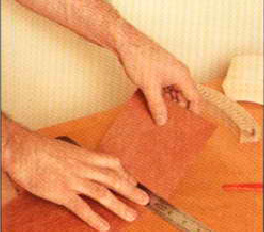
1. The veneering of the panel with the fringing takes place in two stages. To get started, you need to pick up a piece of veneer a little more in size than the fringed base. Then, with the help of adhesive tape from the back side, it is necessary to fix all the cracks in the veneer. The panel is laid on top of the veneer, which in turn is laid on a flat surface, and the perimeter is measured. |
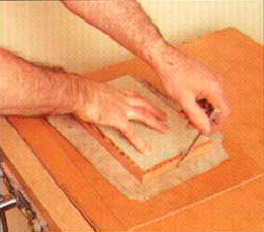
2. Using a steel ruler and sharp marking knife, carefully cut the veneer approximately 3 mm outside the marking line. First, the thread runs across the fibers, since in this place the most likely appearance of cracks. Cut the veneer with firm and confident movements, pressing the index knife with your index finger. Care should be taken to cut off especially at the end of the cut, since the fiber can break off. At this point, the blade should be kept most horizontally. |
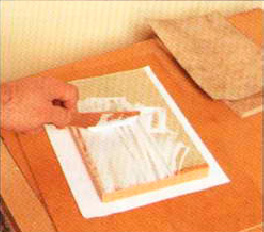
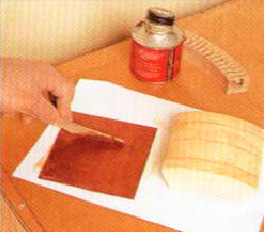
3. It takes a clamping device, several G-shaped clamps, paper, spatula and glue. Under the part, we prepare the paper to secure the surface of the workplace from the adhesive, apply the adhesive evenly to the substrate with a spatula. Sometimes make special incisions to give the surface of the base roughness, thereby increasing the adhesion to veneer. A spatula is better to take a jagged one, so that the glue is applied evenly. |
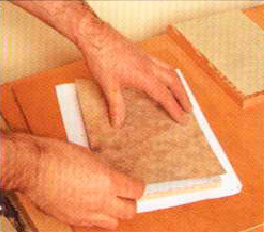
4. The adhesive is allowed to dry for a few minutes, so that there are no bulges on the veneer. Next, the veneer is applied to the base. |
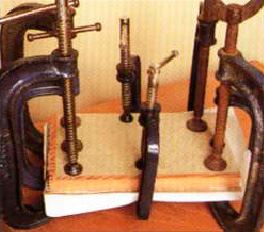
5. The panel with the veneer is placed on the “pillow” of the press and with the help of the clamps the pressure is evenly distributed. Under pressure, this product is left to 12 hours. |
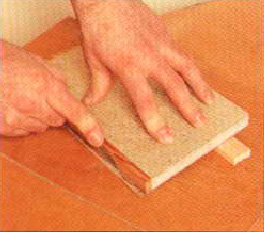
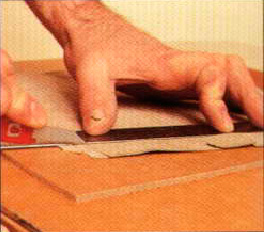
6. After drying the base, the excess veneer is neatly trimmed with a marking knife along the edge of the panel. Under the panel, a gasket is padded to concentrate pressure on the edge along which the cutting is done. |
Veneering with a curved surface
Veneering veneer curvilinear surface is usually carried out using curved clamping devices and glue PVA or synthetic glues. This is especially true for large products.
Veneering of the curved surface:
1. Select the piece of veneer for the cladding, using a marking knife and a steel ruler, you need to cut out the necessary parameters; |
2. When cutting, you can cut the veneer to half, and then break the fiber along the steel ruler to get a smooth edge without tears. |
3. On both surfaces — on the base and on the veneer, apply glue, allow it to dry for a few minutes, so that the moisture evaporates from the glue and the veneers sit flat on the surface of the base. |
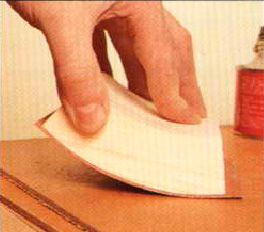
4. Bonding takes place instantly, so it’s important to lay the veneer on the substrate evenly. If the product is relatively large, a paper pad can be used to align the veneer and the substrate. Further it is necessary to press strongly to a flat surface. |
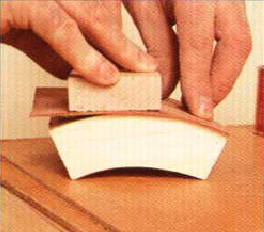
5. You can use some kind of clamping shoe (manually or with a hammer) to ensure full contact of the veneer and the substrate. |
Wooden products are not only aesthetic, they are often useful. Furniture veneer lining makes them durable, lightweight and expressive. Veneering provides excellent quality, attractive appearance and acceptable cost.
Euroshpon-Trade company offers natural high-quality veneer from various types of wood and at an affordable price for veneering. You can contact our managers and get the necessary information individually.
